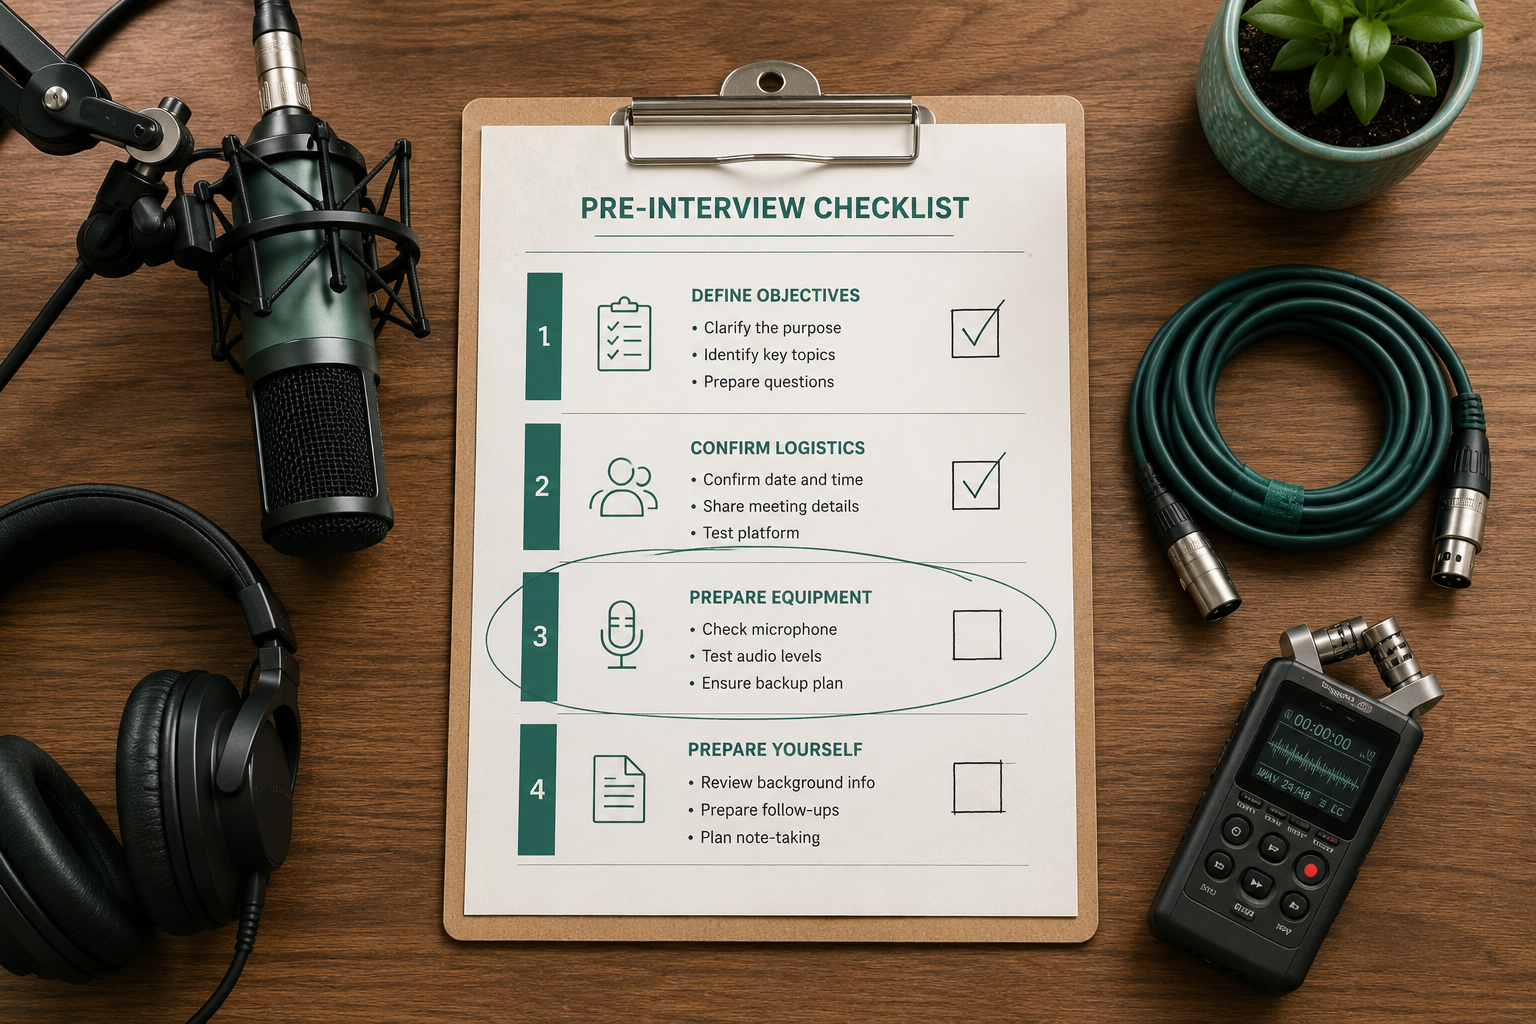
You're about to start an interview. The conversation will run sixty minutes. There are no second takes. The single thing that decides whether the transcript is usable is something most people only think about once the recording is already corrupted: the audio.
This checklist runs in four phases — gear, room, settings, opening. Walk it before every interview. It takes ten minutes the first time and three minutes once it's habit. Following it gets you a recording that any modern speech-to-text engine can transcribe cleanly the first time.
Phase 1: Gear (the night before)
Don't troubleshoot equipment ninety seconds before a guest joins. Verify the chain end-to-end the day before.
- Microphone tested on the actual machine you'll record with. Plugged in, recognized in the OS, level visible in your recording app.
- Backup microphone available. A wired earbud mic is acceptable as a fallback; nothing is unacceptable.
- Closed-back headphones for the host so the guest's voice doesn't bleed back into your mic.
- Cables checked end-to-end. A loose 3.5 mm jack is the single most common cause of a half-recorded interview.
- Recording software updated and licensed. The "your trial has expired" dialog is not what you want at minute 47.
- Local recording on, not cloud-only. Network outages happen; a local WAV file does not.
- Battery on every wireless device above 80%. Charging cable in sight.
- At least 5 GB free on the drive for an hour of stereo WAV.
Phase 2: Room and signal (15 minutes before)
The room shapes the transcript more than the mic does. Speech-to-text engines all degrade on reverb, room rumble, and HVAC hiss, and no plugin un-makes a bad room.
- Doors closed. HVAC and ceiling fans off if you can.
- Phone on Do Not Disturb. Notifications silenced on the recording machine.
- Hard surfaces softened. A jacket on the desk, a rug under the chair. Reverb is the enemy.
- Mic 6 to 8 inches from the speaker's mouth, slightly off-axis to avoid plosives.
- Pop filter or foam windscreen on if you have one.
- Test recording. Fifteen seconds of conversational talking, played back through headphones. Listen for hum, hiss, clipping, room noise.
- Levels peaking around -12 to -6 dB. Not in the red. Not so quiet you can barely see the bars move.
- Separate-track recording on for Zoom, Riverside, SquadCast, or Teams — each speaker on their own channel makes diarization dramatically easier later. See how to transcribe a Zoom recording with multiple speakers for the per-platform setting.
Phase 3: Settings — what to actually record at
Bad defaults silently degrade transcript accuracy. Set these once on the device and forget them.
- Sample rate: 48 kHz for video work, 44.1 kHz for audio-only. Both are fine for AI transcription. Anything under 16 kHz is wasted bits with worse accuracy.
- Bit depth: 16-bit minimum, 24-bit if your software supports it.
- Channels: mono for a single mic, stereo only when each side is its own channel.
- Format: WAV or FLAC for the master. MP3 is a delivery format, not a recording format. More on this in what's the best audio format for AI transcription.
- Auto gain control: off. It rides the level up during pauses and surfaces the room hum.
- Noise gates and "AI enhancement": off for the master recording. Apply post.
- File naming:
YYYY-MM-DD_speaker-name.wavso you can find it three weeks from now.
Phase 4: The opening 30 seconds
The first half-minute decides everything. Don't skip these.
- State the date, your name, the interviewee's name, and a one-line description of the topic on tape. This becomes your slate and helps speaker labels lock onto the right voice.
- Get verbal consent on the recording: "Are you OK with me recording this for transcription and notes?" If you don't already have a written consent form, grab one from our interview consent templates.
- Spell unusual names. The transcript will get them wrong otherwise; see why AI transcripts get names wrong.
- Sit through a 5-second silent baseline at the start. You can use it later to subtract noise.
- Have the interviewee speak a single sentence solo before you reply. That gives speaker diarization a clean voiceprint to lock onto.
Common mistakes that wreck the transcript
Most ruined recordings come from the same handful of errors. The pattern matters more than the gear.
- Recording into the laptop array six feet away. Any external mic beats it — even a wired earbud.
- Sitting in front of an open window with traffic outside. Window noise is unrecoverable.
- Holding the phone for a call recording. Mount it. Hand movement equals handling noise equals dropped words.
- Forgetting to actually start the recorder. Set one obvious cue (a sticky note on the monitor saying "RECORDING?") and check it.
- Recording to a single combined track on Zoom when separate tracks are one toggle away.
- Trusting cloud-only recording. Always have a local file as the master.
After the interview: the 60-second wrap
Don't close the laptop yet.
- Stop the recording cleanly. Don't kill the app — let it finalize the file.
- Verify the file exists, opens, and plays. Once. Right now, before you forget.
- Upload to your transcription tool while the conversation is fresh — paste the file into VTS and let it run while you write your gut-reaction notes.
- Note any moments worth flagging (timestamps for great quotes, anything muffled).
- Two backups before you sleep: cloud and a local drive.
If you want a deeper read on what the engine does to those files once it has them, our pre-transcription audio quality guide digs into the room-treatment side. For the downstream workflow, how to transcribe an interview for a research paper carries it from raw audio to a cited quote.
Paste any public link or upload a file and get a clean transcript in minutes. First 3 clips every month are on us — no card required.
Common questions
Does any of this matter if I'm paying for a premium AI tool?
Yes, more than people expect. Modern speech-to-text engines degrade hard on reverb, overlap, and low signal-to-noise — the Whisper paper documents this directly. A clean recording at 48 kHz/16-bit pulls noticeably better word accuracy from the same model than a phone-mic recording in a noisy room. The engine doesn't care what you paid; it cares what's in the file.
What if the interview is remote and I can't control the guest's room?
Control what you can. Send the guest a one-paragraph prep email the day before: wired headphones (not AirPods), a quiet room with the door closed, sit close to the laptop. Then record both sides on separate tracks so your clean side isn't muddied by their noisy side. The fallback is your problem to fix in post; their side is theirs to record well in the first place.
Do I need to do all of this if it's a casual chat I'll just listen to?
No. The checklist is for recordings you intend to transcribe or quote from. If you'll never read it back as text, skip phases 3 and 4.